Quick Start - UECopilot
Quick Start
1. Nodejs Environment Setup
Plugin Automatic Environment Setup
After downloading the plugin for the first time, run your project and check whether the Node.js environment is installed, since the frontend service of this plugin depends on third-party programs based on Node.js.
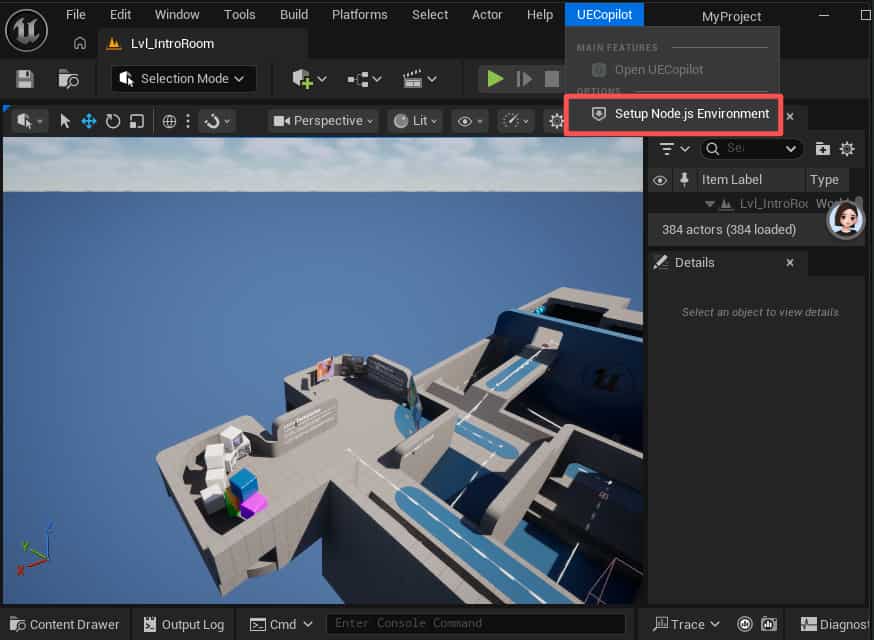
Node.js is a JavaScript runtime environment based on the Chrome V8 engine. Simply put, it allows JavaScript to run outside the browser, directly on your computer or server.
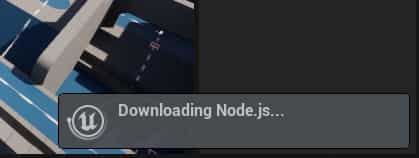
You will see a download prompt as shown below.
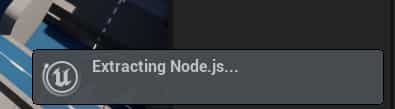
Next, the environment will be extracted.
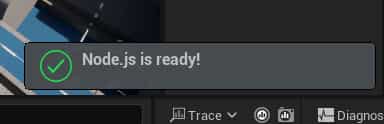
Finally, you will see a notification indicating that the environment installation is complete.
Manual Environment Setup
If the automatic download takes too long, you can also try to set up the environment manually:
-
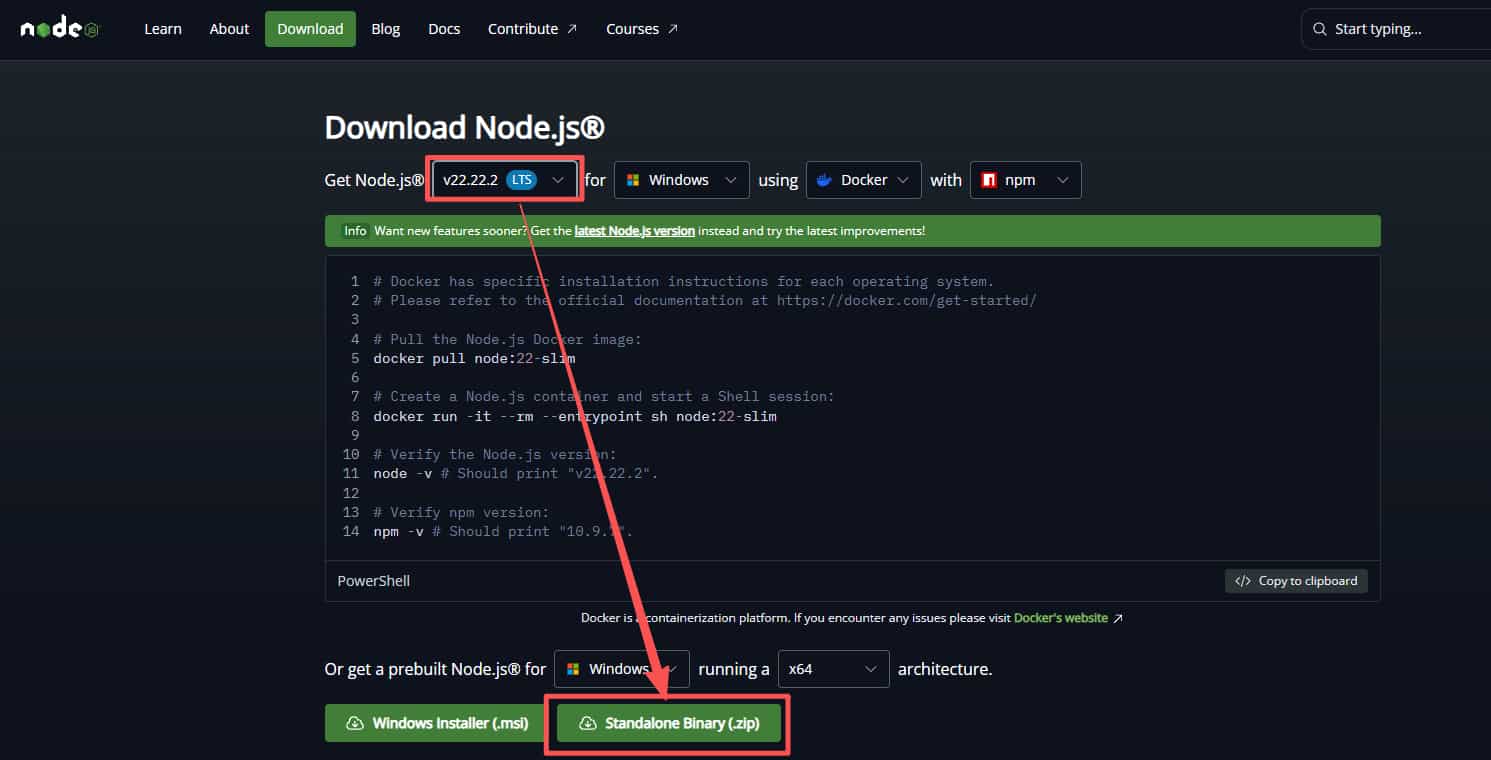
- Go to the Node.js official website: https://nodejs.org/en/download
-
- Download the standalone installation package for version v22: node-v22.22.2-win-x64.zip
-
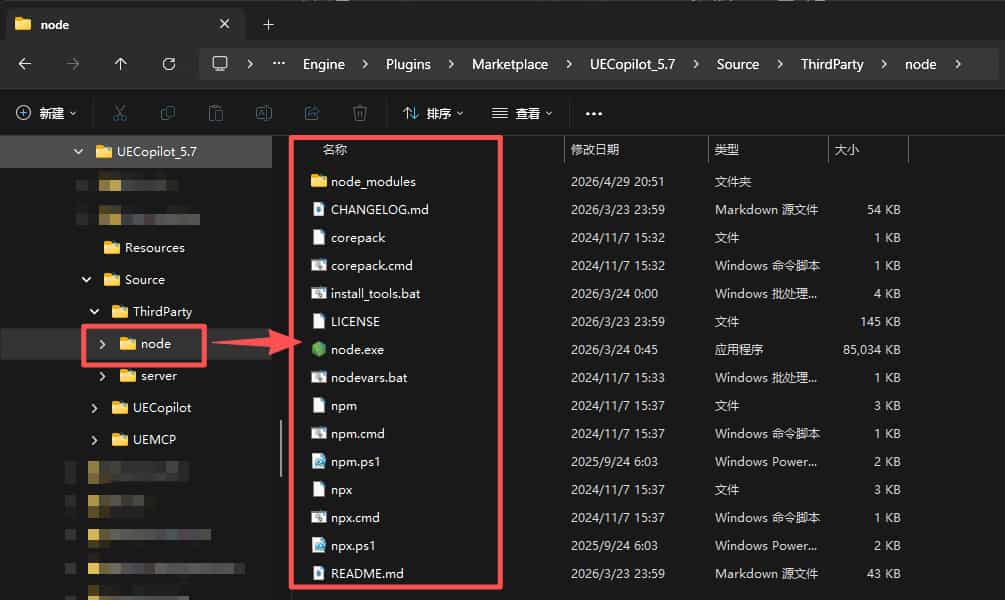
- Navigate to the following directory under your engine installation path:
[YourEngineInstallPath]\UE_5.7\Engine\Plugins\UECopilot\Source\ThirdParty. Extractnode-v22.22.2-win-x64.zipand rename the extracted folder tonode(as shown in the image below).
- Navigate to the following directory under your engine installation path:
Go to the UE5 top menu bar → UECopilot → Open UECopilot to launch it.
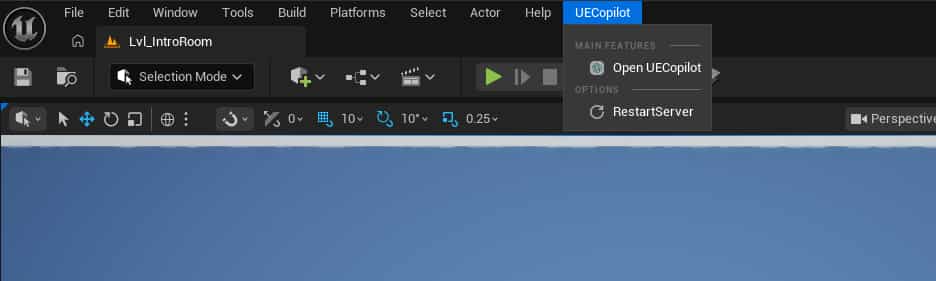
You can also find a quick launch button in the toolbar.

2. LLM API Key Configuration
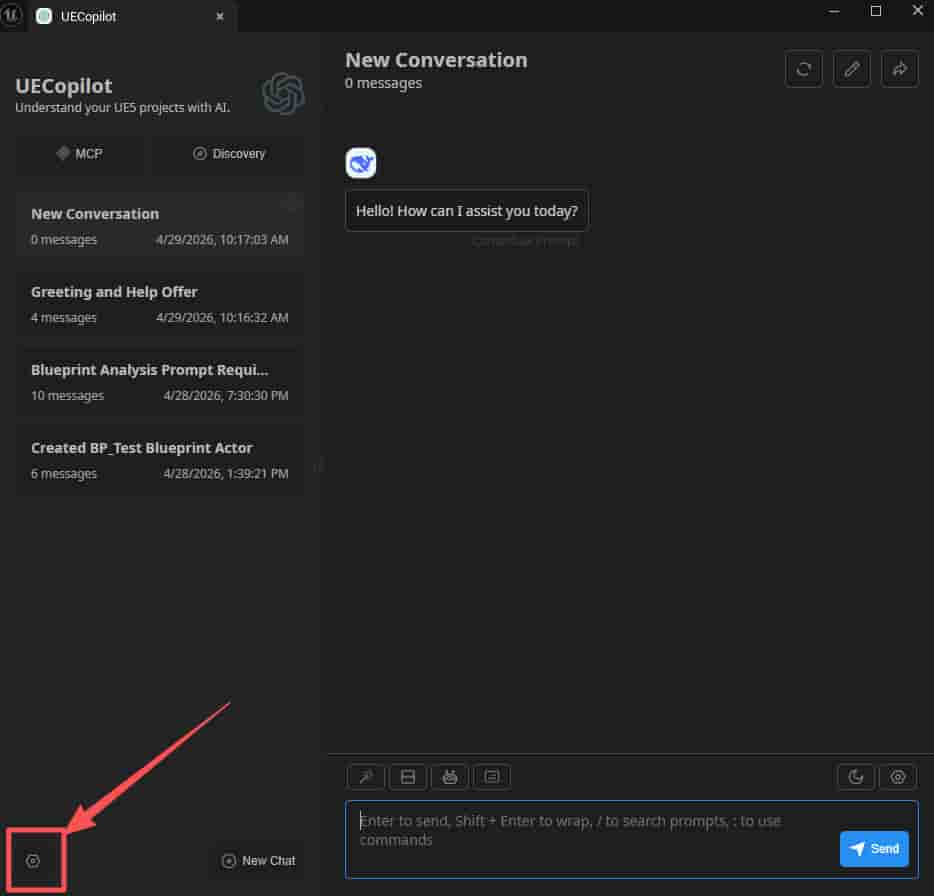
Click the Settings button.
-
- Choose a model service provider
-
- Enter API Key
-
- Set the default dialog model (please select the correct dialog model)
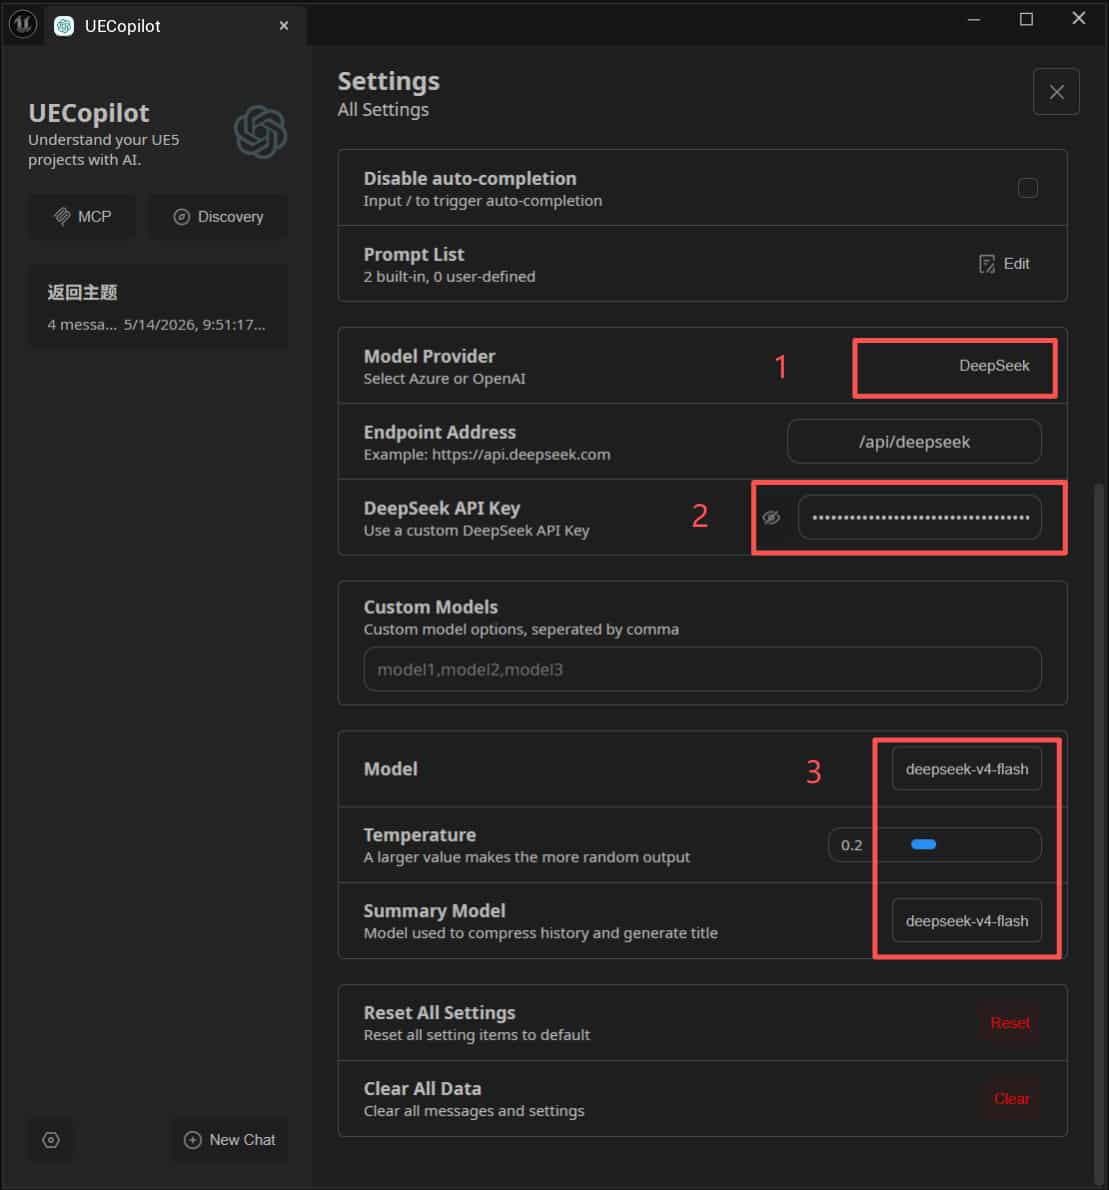
Note: that if a model with an unauthorized API Key is selected for the conversation, an API authorization error will be prompted.
This plugin provides fully local services and does not offer model services. It also ensures no personal API keys are leaked. Users are required to pay for accessing model services and obtain API keys from various vendors.
Please refer to the process descriptions on the official websites of these vendors for guidance.
This plugin was primarily developed using the Deepseek model environment, so the adaptation for Deepseek models is the most complete. It is recommended to use Deepseek models for driving the plugin.
3. Local Model Configuration
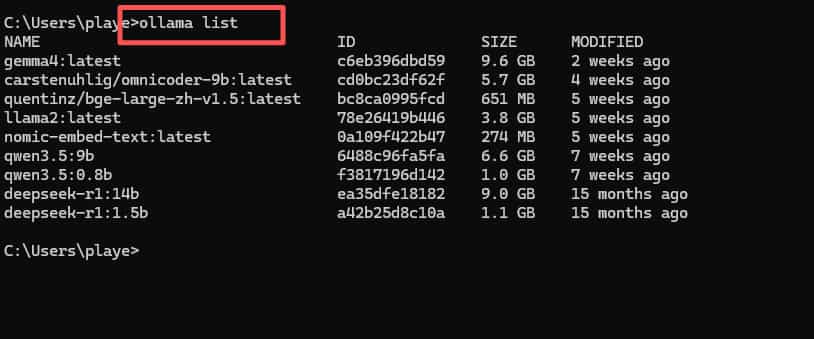
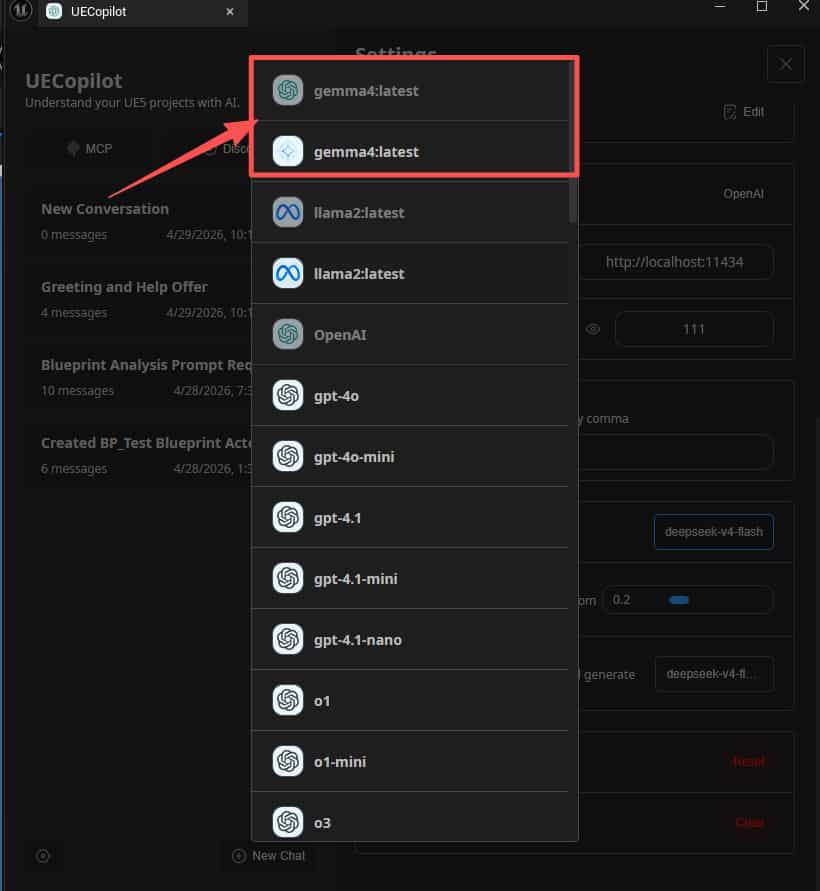
If you have a local LLM service, you can also integrate it. Below is an example using Ollama. First, make sure your Ollama service is running locally, then check the available models:
Steps:
- Select OpenAI as the provider
- Set Endpoint to:
http://localhost:11434 - OpenAI API Key: Enter any non-empty value
- Custom Models: Enter model names from the
ollama listoutput, separated by commas
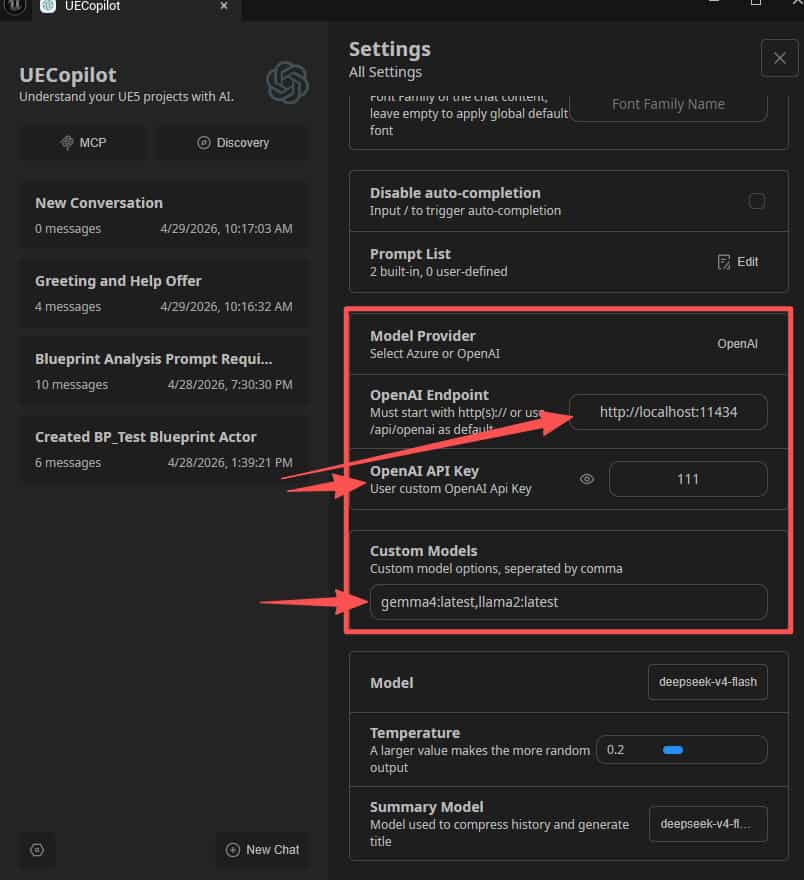
- After that, you can select your local model during chat.
4. UECopilot Capability Overview
UECopilot leverages large model analysis capabilities + Blueprint MCP tools to analyze and generate project resources
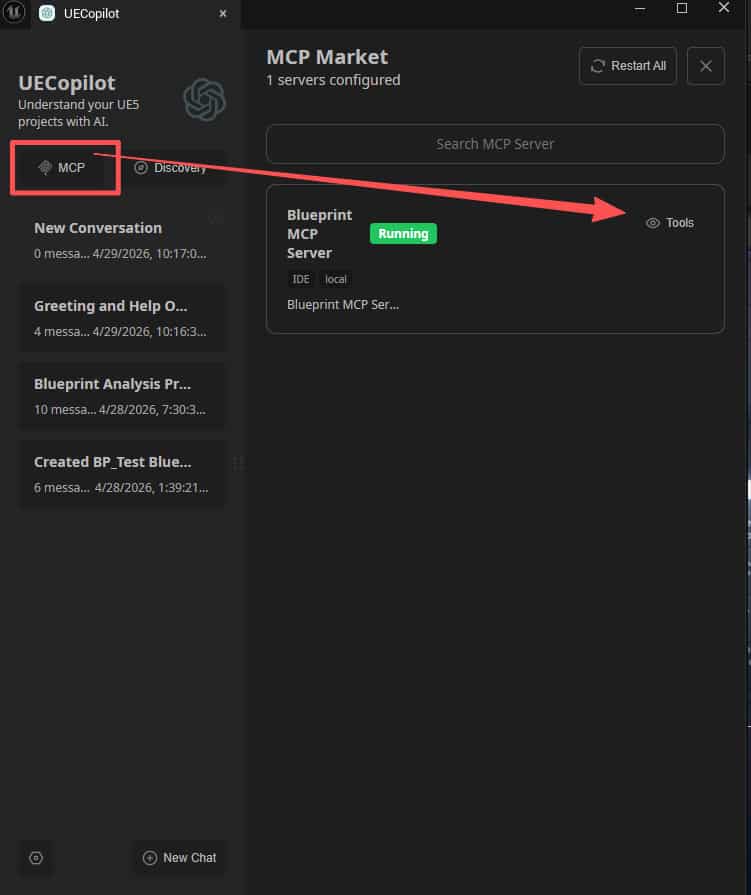
You can view the currently available MCP tools to understand the plugin’s capability boundaries.
The plugin is still under active development. More tools and features will be added in the future.
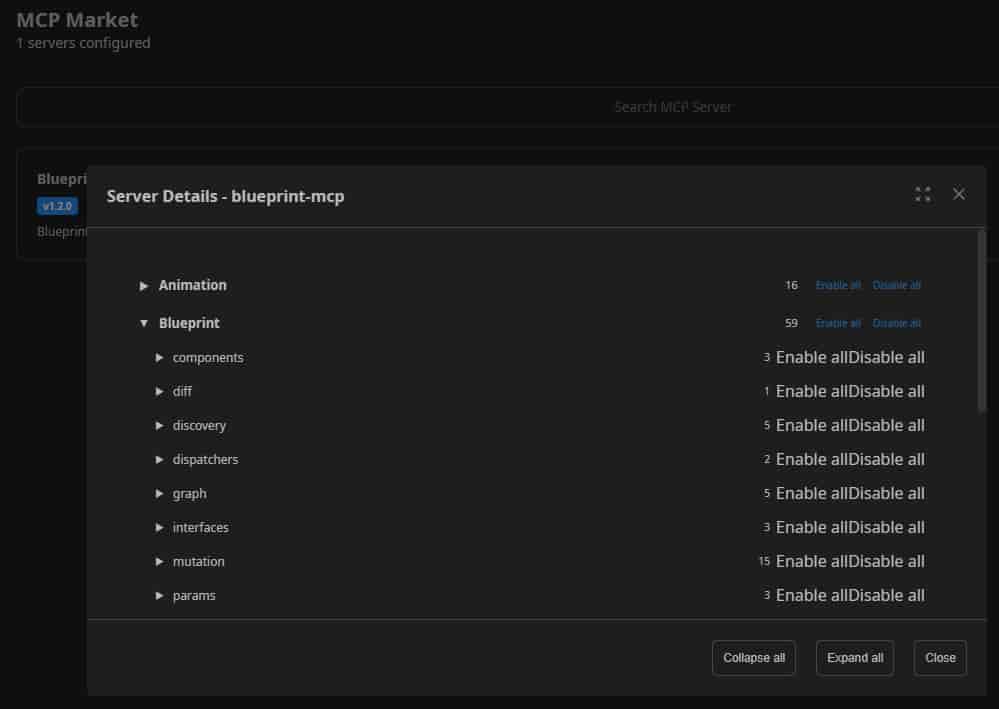
For detailed information, please refer to the UECompilot Documentation.
5. Chat Feature Overview
All operations are performed through a chat-based interface.
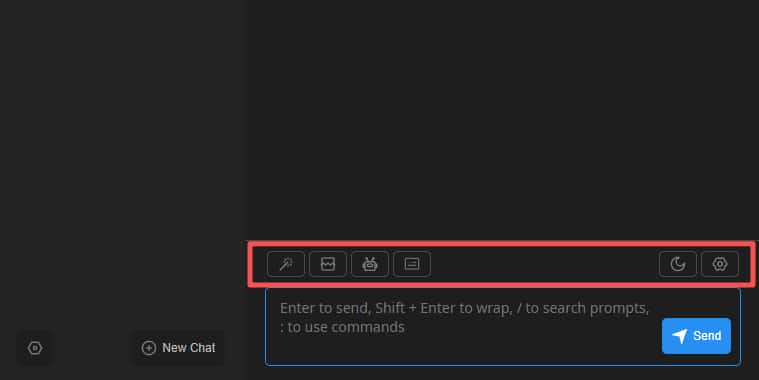
Toolbar functions (from left to right):
- Prompts: Includes preset prompt templates for quick input and tool invocation. You can also add custom prompts in Settings.
- Clear Context: Inserts a context reset marker to prevent long conversations from exceeding context limits.
- Chat Models: Switch between different LLM providers.
- Shortcut Keys: Displays keyboard shortcut examples.
- Theme Switcher: Toggle UI themes.
- Settings: Configure chat parameters